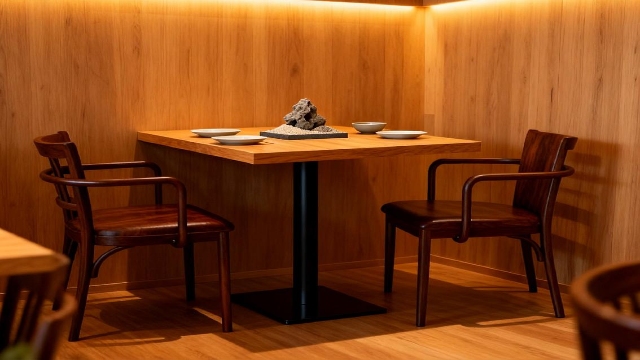
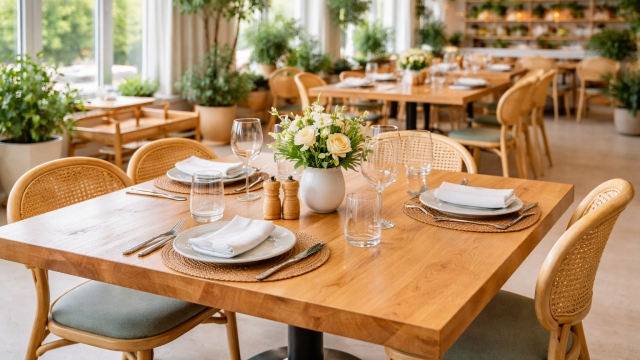
Picking the proper furniture for your eatery or coffee shop is a major outlay that weighs looks, toughness, and daily workflow. As a top provider with more than 15 years in the guest service field, Fly Goat knows that the lasting nature of your pieces relies not only on the worth of single parts. It also depends on how those parts come together. One of the usual tech questions we get from cafe managers and room planners is how to attach wood table top to metal frame. Making a firm, skilled link is vital to keep things steady. It also stops harm in a spot with lots of foot traffic.
Understanding the Challenges of Wood and Metal Integration
When you join a wooden table top with a metal stand, you face two supplies that act in varied ways on their surroundings. Wood acts as a breathing substance. It grows and shrinks with shifts in moisture and warmth. On the other hand, metal stays stiff. If you link them in the wrong way, the wood might break or bend as it tries to shift. Or the holders might come loose. This leads to a shaky table.
At Fly Goat, we focus on giving business-level parts that plan for these issues. Our steel and cast-iron bases are built for steadiness. But the end setup step is where you lock in lasting results. Whether you gear up a fresh eating area or fix up old pieces, grasping the workings of this link is a must.
Essential Components for a Secure Attachment
Before you start the setup, check that you have the right tools. Do not pick plain wood screws without thinking about the depth of your table surface and the size of the guide openings. The next table points out the usual linking ways we see in business spots:
| Attachment Method | Best Used For | Key Advantage |
| Z-Clips (Table Top Fasteners) | Solid wood tops | Allows for natural wood expansion/contraction |
| Metal Corner Braces | Light to medium duty | Rigid, high-strength connection |
| Threaded Inserts & Bolts | Frequent disassembly/High-traffic | Superior holding power, prevents stripping |
| Industrial Adhesive/Silicone | Glass or small accent tables | Vibration dampening and stability |
Step-by-Step Guide: Attaching Your Table Top
For many business uses, we suggest a way that lets a bit of supply shift happen. At the same time, it keeps a very firm sense. Follow these steps to get a skilled outcome:
Prepare Your Surface and Workspace
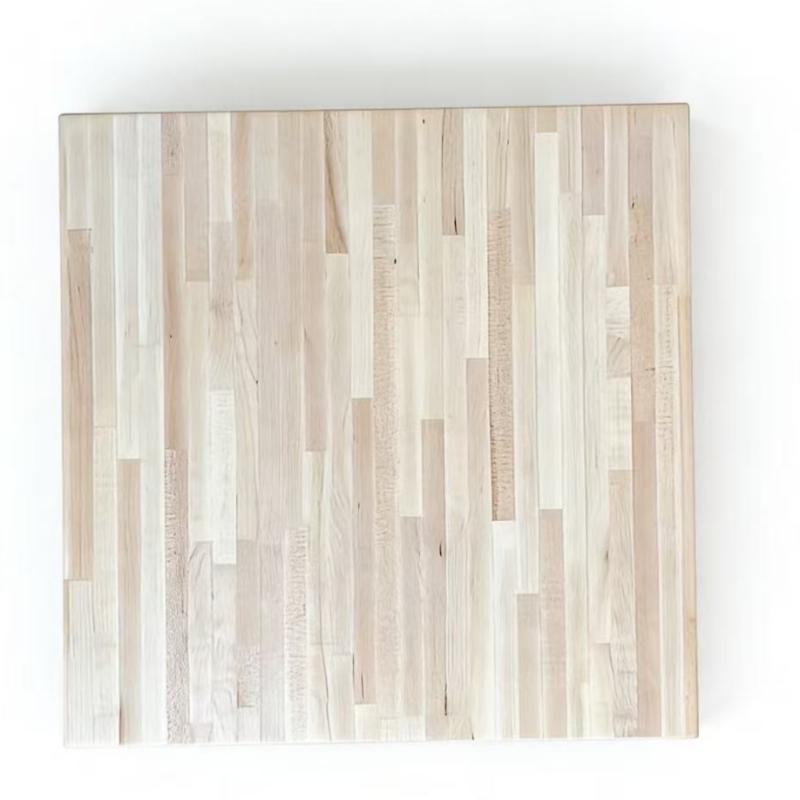
Begin by laying your wood table top face down on a gentle, spotless area. Pick something like a rug or a shift blanket. This stops marks on the outer layer. Place the metal stand right in the middle on the bottom side of the top. Make sure you plan for edges that hang over on every side. This allows easy sitting space.
Measure and Mark Pilot Holes
Exactness counts a lot. Grab a woodworker’s tool to check the stand lines up just right. Once it sits in place, note the spots for the screw spots on the wood’s bottom through the holes in the metal stand frame. Take off the stand. Then drill your guide holes. It is key to pick a drill tip just a touch smaller than the body of your screw. This keeps the wood from breaking apart.
Secure the Base with Proper Fasteners
If you pick Z-clips, slide them into the ready-cut gaps on the metal frame. Or put them into a cut line you made in the wood. If you go for straight screw linking, check your screws do not go so deep that they poke out the top of the table. We often suggest screws that go in about two-thirds of the way through the wood top’s thickness. Tighten the holders in a crisscross order. This spreads the push evenly over the stand.
Why Quality Matters: Insights from Fly Goat
The task of attaching a wood table top to a metal frame works well only if the supplies shine. We have watched up close how poor cast-iron stands can split under the pull of daily cafe tasks. That is why we stress the need for fine, business-level backing. Our steel bases, for instance, come with a three-screw setup that makes putting together simple. It also stops coming loose as time goes on. This gives a trusty base that stays far safer than cheap choices.
Optimize Your Dining Experience with Fly Goat
Our group at Fly Capra works hard to act as your success ally. With our strong supply path and wide know-how, we offer more than simple furniture. We bring fixes that aid your work to grow. Whether you want custom covers to fit your brand look or tips on picking the right table stand for your area, we stand ready to help. Find out the Fly Goat edge now. Turn your ideas into real things.
FAQ: Common Questions Regarding Table Assembly
How do I prevent my wood table top from warping when attached to a metal base?
The best way to stop bending is to make room for change. Do not bolt the wood tightly to the metal at each spot. Pick holders like Z-clips or figure-eight links instead. These let the wood grow and shrink along the table’s width. They do this without adding strain to the metal frame or the holders. As a result, your pieces stay even and strong for many years.
Can I attach a metal base to a laminate or veneer top?
Yes, you can do that. But the steps change from full wood. Since cover layers and chipboard middles do not grip screws well, we suggest threaded inserts. Drill a spot and fit a metal threaded insert into the top’s bottom side. This makes a machine link that stops the screws from wearing out. That issue often hits weaker table surfaces.
What should I look for in a metal base for outdoor restaurant use?
When facing outside settings, lasting strength cannot be skipped. Seek steel bases with a fine black powder layer. This outer coat works to fight off rust and wear from water and damp air. At Fly Goat, our outside-rated steel bases aim to match the steadiness of our inside types. This keeps your yard seats as sharp as your key eating space.
How often should I check the hardware on my tables?
In a full eatery, tables face steady shakes and shifts. We advise a once-a-month care plan. In that check, go to each table. Make sure the screws tying the metal frame to the wood stay tight. If you spot any shake, look at the adjusters on the stand’s feet first. Those parts work to fix bumpy floors.
Why is a three-screw design better than other mounting options?
A three-screw setup on a table stand fix plate is built for top build strength. It forms a three-sided or spread-out pattern. This way, the weight of the table top spreads more evenly over the plate. The plan cuts down a lot on the chance of holders coming loose over time. It handles side push or daily table tilts. That makes it a key part of our business-level items.