
Mounting a wood table top to a metal base is a small installation task with a large effect on guest comfort. If the base is off-center, the fasteners are weak, or the final table is not level, a good commercial table set can feel cheap after the first week of service. This guide gives wholesale and project teams a clear mounting path for restaurant use.
The Mounting Plan Begins With the Approved Table Set
A wood top should be mounted only after the top size, base model, finished height, and seating layout are confirmed. Restaurant teams often ask how to attach metal legs to a wood table top, but the better first question is whether the selected base is correctly matched to the top. A stable installation cannot rescue a mismatched table set.
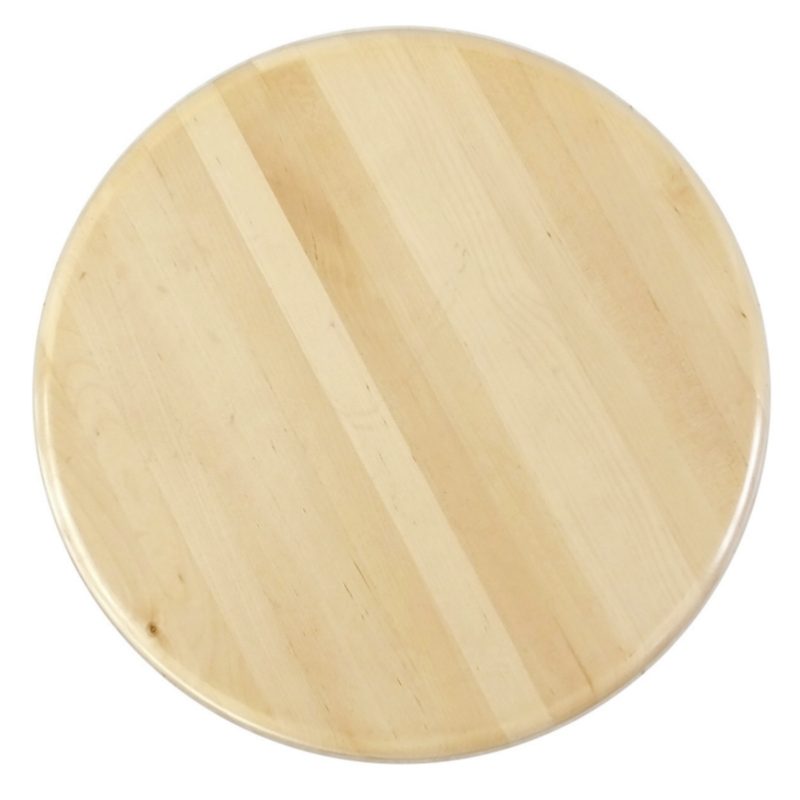
Fly Goat supplies customizable birch table tops and multiple commercial base families, including T bases, round bases, cross bases, ornamental bases, prong bases, and steel outdoor-use options. That range helps buyers approve a complete set before installation, so the mounting crew is not deciding product compatibility on site.
Confirm these items before drilling
- Top size, top thickness, and underside finish condition.
- Base model, top plate, column size, and height.
- Final table position and seating clearance.
- Hardware length that will not break through the top.
- Whether the table is dining height or bar height.

Centering and Marking Keep the Table Usable
Professional table top mounting starts with careful positioning. Place the wood top upside down on a protected surface, set the metal base or top plate in position, and measure from several edges instead of trusting the eye. The goal is not only visual centering; the base must also support the seating pattern and prevent tipping at the table edges.
For rectangular tops, the base position may need to follow the seating layout rather than the exact geometric center. A paired T-base setup, for example, supports the ends of a long top and keeps the middle area open. For round or square tops, a centered round, cross, or prong base usually makes the most sense when the recommended top-size range matches the product.
A simple marking sequence
- Protect the finished top surface before turning it over.
- Mark the centerline or paired-base spacing with removable pencil marks.
- Align the top plate and confirm guest clearance from the planned seat positions.
- Mark every screw hole before moving the base.
- Check hardware depth against the wood thickness before drilling pilot holes.
Pilot Holes and Hardware Reduce Splitting
Wood tops should not be forced together with oversized fasteners or rushed drilling. Pilot holes help guide the screw, reduce splitting risk, and improve consistency across a batch of restaurant tables. The pilot depth should match the fastener plan without cutting through the visible top surface.
Teams that need to attach table top to base should also keep hardware consistent across the order. Mixed screw lengths, mismatched washers, and unrecorded substitutions can create uneven pull, loose plates, or avoidable service calls. A sample table should be mounted first, inspected, and approved before the crew repeats the process across the full shipment.
Hardware control matters because a restaurant order is usually installed in multiples, not as one isolated table. The approved screw length, washer choice, pilot-hole depth, and tightening method should be kept together for the whole batch. When crews improvise from table to table, the visible tops may look identical while the underside connections age differently.
A short recheck after the first service period is also useful for commercial spaces. Staff can confirm whether any fasteners loosened, whether glides need adjustment after floor cleaning, and whether the table still returns to level after being moved. That small review helps buyers improve the next installation batch without changing the full specification.
| Step | Purpose | QC check |
| Protect and invert top | Avoid finish scratches | Surface is cushioned and clean |
| Mark base position | Keep support and seating aligned | Measurements match approved sample |
| Drill pilot holes | Guide screws and reduce splitting | Depth does not break through top |
| Fasten plate evenly | Prevent twist and loose corners | Screws seat firmly without over-driving |
| Level final table | Improve guest comfort | Glides adjusted and table does not rock |
Leveling and Recheck Finish the Installation
The final table should be checked upright on the same type of floor where it will be used. Adjustable level glides can help correct small floor variations, especially in busy dining rooms where a slight wobble quickly becomes a guest complaint. For outdoor black steel bases, the placement and finish exposure should be checked separately from indoor tables.
A receiving or installation team should record the final table set after the first approved installation. The record should include top size, base model, fastener choice, finished height, and a photo of the underside mounting pattern. That record makes future replacement and repeat orders much easier.
Common mounting mistakes
- Using a base that is too small for the top.
- Skipping pilot holes in solid wood or birch tops.
- Over-driving screws and weakening the underside connection.
- Ignoring finished table height after changing top thickness.
- Mounting the base before confirming leg clearance.
For multi-table installations, the crew should treat the approved first table as the control sample. The same measurements, hardware, and tightening sequence can then be repeated across the batch, while any field change is recorded before more tables are assembled.
A Practical Summary for Project Teams
A secure installation comes from a correctly matched table set, accurate marking, pilot holes, consistent hardware, and final leveling. When the first sample table is approved and documented, the rest of the batch can be installed with far fewer surprises.
For custom birch tops and compatible restaurant table bases, review Fliegen Ziege wood table top mounting guidance and contact us with your top sizes, base models, and project quantity.
FAQ (häufig gestellte Fragen)
Do wood table tops need pilot holes before mounting?
Pilot holes are strongly recommended because they guide the screw, reduce splitting risk, and make repeated installation more consistent across multiple restaurant tables.
How do buyers choose screw length for a wood top?
The screw must hold the top plate securely without breaking through the visible top surface. Buyers should confirm hardware depth against the actual top thickness.
Should a metal base be centered under every top?
Centered placement works for many round and square tops, but long rectangular tops may need paired T bases placed near the ends according to the approved layout.
What causes a newly mounted table to wobble?
Wobble can come from a mismatched base, uneven fastening, weak floor contact, missing glide adjustment, or a top that is too large for the selected base.
Can mounting records help future wholesale orders?
Yes. A clear record of top size, base model, fasteners, finished height, and approved mounting photos helps the next order match the original table set.